Getting Started
Prerequisites
- Familiarity with the command line
- Install Bun or Node
- VSCode Extension Visual Studio users (optional)
Option 1: create-nue
create-nue repository is the best way to familiarize yourself to Nue JS. Get it as follows:
# clone the repository
git clone https://github.com/nuejs/create-nue.git --depth 1

# cd to your newly created app
cd create-nue

# remove git directory
rm -rf .git

# install dependencies
npm install

# Build demo site and start a HTTP server
npm run start

# Open the demo on the browser
open "http://localhost:8080"
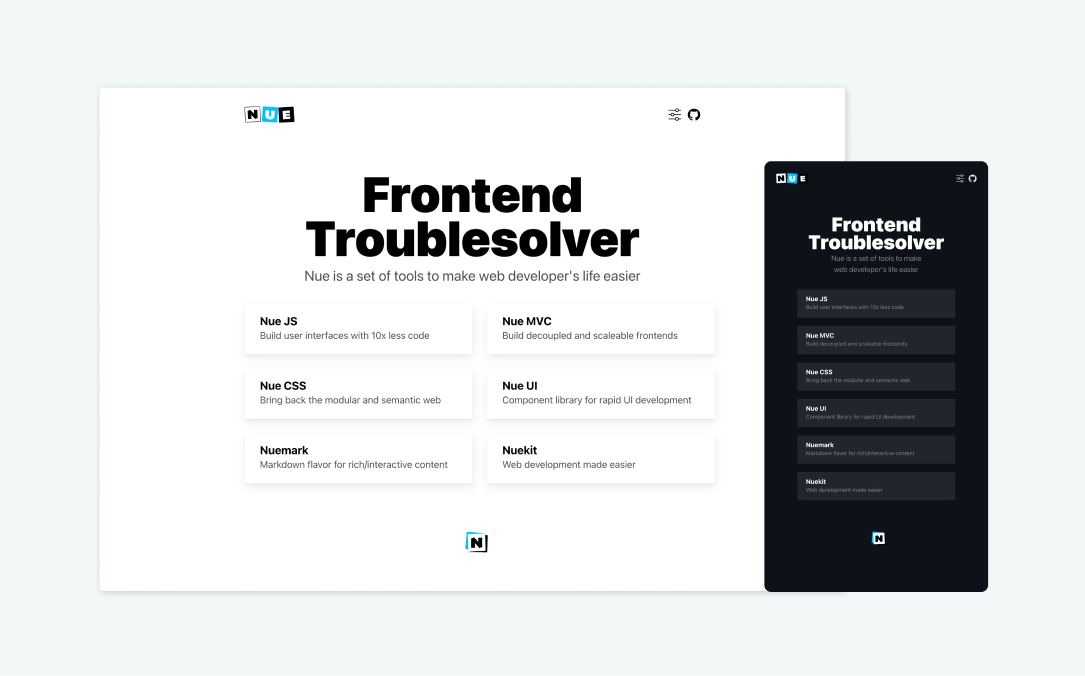
After the start command you’ll have a demo under the folder create-nue/www and it is served locally on port 8080. It will look like this:

Look for the documented scripts under the scripts folder on how to do server-side rendering and client-side compilation.
NOTE: create-nue is constantly updated as the Nue toolset makes progress. Ultimately the demo website is generated by the upcoming web application builder (Nuekit), but for now, it’s just sample scripts to understand how Nue JS works.
NOTE 2: A proper npm create nue <destination> command is coming soon
Option 2: npm install
Install Nue JS via npm, pnpm, or bun
npm install nuejs-core
After installing, you can import the main functions into your JavaScript or TypeScript files:
import { render, parse, compile } from 'nuejs-core'
Then learn component basics how to do server-side rendering and how to use reactive components.
